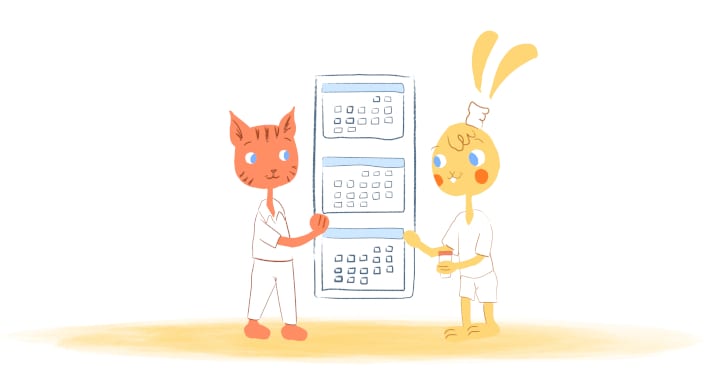

“Have you ever tried to schedule an appointment or meeting with someone?” asked Howie Jones in a previous Calendar article. “It can get exhaustive, what with all of those back-and-forth emails trying to figure out a date and time.” Thankfully, “you can use your calendar to eliminate this time-consuming problem.” Here’s how to use the scheduling form on your calendar.
Howie is 100% right. But, there’s more to it then just emailing your calendar to someone else. You should also pair your calendar with a scheduling form. That may sound like unnecessary steps. But, it will make the entire process that much more efficient since it includes messages that keep your clients or attendees in the loop throughout the scheduling process as a whole from booking to following-up.
But, what exactly should be included in your scheduling form on your calendar? Well, here are some suggestions that you should consider.
Cover the basics.
Regardless if you’re using a premade form or creating a template from scratch, your scheduling form on your calendar most include the most vital information. After all, what’s the point of using a scheduling form for your calendar if you don’t have the basics covered?
At the very least, I’m talking about the name of the person requesting your time, as well as the date and time of the booking. If you don’t have this information, then how can you prepare for the event? It’s like coaching a basketball team without a game plan against the opponent.
Besides the obvious, you might also want to include other compelling and relevant information. At the top of this list, I would highly recommend the reason for the appointment. It’s an effective way for you to know whether or not it’s worth your time. And, it can also help you determine alternatives.
For example, let’s say that a prospective client wants to meet you for lunch to discuss precisely what your business does. That can eat up a lot of your day just for this discovery meeting. Instead, you could suggest having a short phone call before scheduling a face-to-face.
You don’t have to request too much information up front. But, you certainly need to cover the basics. It’s the only way that you can plan your schedule in advance and avoid unnecessary meetings.
Customize your calendar’s scheduling form.
Your mileage may vary here. But, you do have the power to customize your form however you like. For instance, you can adjust the form’s appearance, such as the color and font, to match your brand.
More specifically, you can also add your own custom booking fields, drop-down lists, and forms to the registration process. If you offer a variety of services, then you could list them on the form. The customer then clicks a checkbox to mark which service they’re booking you for.
Furthermore, you can configure your form’s confirmations and reminders. For example, after a client has booked an appointment with you, they can receive a reminder via a confirmation page, email/text message, or a URL redirect.
As for reminders, you should also set the medium and frequency. So, if a client selected to receive a confirmation through text, then that’s where the reminder should be sent. How often you send a reminder is up to your discretion. I wouldn’t bombard invitees. Personally, I think sending them a reminder 24-48 hours in advance is more than fair.
Guide clients/invitees through the scheduling process.
You want to make the scheduling process as painless and straightforward for others as much as possible. The easiest way to achieve that? Place clear and strong calls-to-action everywhere.
For instance, if you placed your calendar on your website, then make sure that you direct them to the calendar page. Once there, have something as simple as a “Click here to book an appointment” on the page.
Additionally, on the form itself, tell the person what information is required and what is not. Again, their name, contact information, preferred date/time, and purpose are give-ins. But, if they don’t feel comfortable giving out more information than that, don’t make them.
And, after they submit the form, make sure you tell them what to do next. Maybe you could redirect the person to a sales page to add on more services or a FAQ page to answer common questions.
You could also ask them to take a survey so that you can use their feedback to improve your scheduling process. If you do either of these, make sure to offer an incentive like a free download or discount off a future service.
Sticking with the confirmation, you should also include a message that contains the following information:
- The date and time of the appointment, meeting, or event.
- The name and address, or a map if possible, of where the occurrence will take place.
- What they need to do before, during, and after. For example, do the person need a ticket to attend an event you’re hosting? Do they need to bring along specific documents? How early should they arrive?
- If they’re paying for a service, then the message should give them payment options. Ideally, your form should accept online payments.
- If it’s a meeting, then let them know when they’ll receive the agenda and who else will be attending.
- Specify how far in advance they can schedule.
- Allow visitors to make repeated reservations so that they don’t have to manually schedule recurring events, like monthly team meetings or recurring services and appointments.
- Your calendar cancellation or no-show policy. One example of this will be charging someone a fee if they cancel at the last minute.
- Include your contact information, primarily, your email address and phone number.
Don’t hide your calendar’s scheduling form.
Online calendars can be embedded everywhere, thanks to inserting URL code. Just simply copy and paste the code onto your emails, website, or social channels. The reason? Sharing your calendar makes it more convenient for people to block out a specific date and time with you.
If you’re hosting an event, then you could also make this even easier on yourself and attendees by adding an add-to-calendar button on your site. When interested attendees click on it, the event will automatically be added to their calendar.
Also, make sure that you integrate your scheduling form with all of the calendars that you primarily use. That may seem like a bit much. But, it prevents scheduling conflicts from occurring.
Follow-up after confirmation.
Your scheduling form isn’t done just yet. After you and the attendee have received confirmation of a booking, make sure that you follow-up. Send them an automated message asking if they’re received the reminder. Keep in the loop of any changes as well. For instance, if you had a cancellation, ask if they would like to take the new slot.
And, if for someone else, if you have to cancel, give them plenty of notice. You also should share your new schedule with them as well so that they can reschedule immediately.


Albert Costill
My name is Albert Costill and I'm a content marketer at Calendar. If I can help people become more productive in my journey, even better. If you ever have a question about your Calendar or how you can use it - - don't hesitate to reach out. I'm a Calendar Pro.